Rapid Caustic Tutorial
no © 2000 - tutorial by Olivier Amrein
PART
IV (but
where are the other parts?)
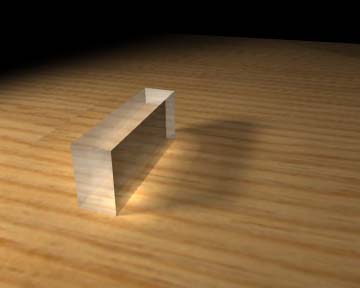
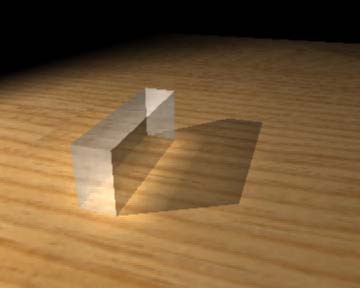
This is the final
image we will try to achieve. Please note the following points:
- I'm not at all a lightning guru.
- I wrote this tutorial to explain a friend tha basic of caustics.
-This tutorial does not go deeply into physico-lightning considerations.
- Further experimenting and testing are required for photo-realistic
results.
- Stay in RENDER (key 3)
Because i'm a cool
guy i already prepared a scene that u should be able to drag-drop from
the xsi netview :
caustic_start.scn
did it work? I sincerly
hope so :-))
if you render, preview or render region you get something like this:
don't forget to select the good camera!
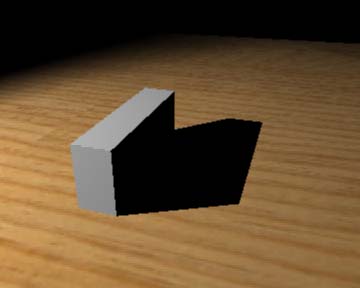
so we are going
to change this cube to a glass looking material.
get-material->phong
under transparency/reflection tab -> transparency to 0.6
( use CTRL to move all 3 sliders)
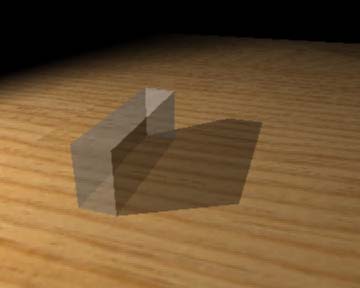
Note: if your picture seems a bit different it's possibly
due to the fact that XSI merges scenes when importing
so u still have default light and ambiance values (erase def. lights
and set ambiance to 0)
The
Caustics.
Ok. Now we are going to add some "realism"
by working with caustics lights.
There are 3 things to configure before a caustic render can begin.
Please note that the procedure is the same as configuring a global illumination
calculation.
- First we will configure the light to be a photon emitter.
- Secondly, we have to say which surface will transmit, receive (or
both) the photons.
- and finally tell mental ray to calculate the caustic in the scene.
Configure the light:
select
the spot and modify -> shader: (should be a white spot with intensity
of 2)
under the Photon tab click the caustic checkbox and set the following
values:
Energy : RGB 0.7
Energy Intensity : 12000
Number of emitted photons Caustic : 2400
(more photons = longer the render time but accurate results)
Configure the objects:
select the cube and the ground (poeticely called cube and cube1 !)
Now modify there
common property called visibility (using the selection
button on the right panel)
and put a check in both checkbox under the caustic tab.
You can of course optimize performances by choosing which object transmits
or receives or not (!)
Configure the render options:
here are the values
and i'm too lazy to copy them so please have a look at the following
image:
again note that this is just an introduction... i'll add the comments
on optimizing and adjusting the values as soon as I understand how to
!!
if you make a render
you should have a result like this no?
Ok so that's it
for now... it's late and i'm going to bed soon.
Just add a refraction index of 1.4 and an area spot and get a pitcture
like this one.
Some basic things for improving quality are: - increase the number of
photons, increase the number of raytracing depth or photon depth
You can also change
the values for different results...
Just experience it!
no © 2000 -
tutorial by Olivier Amrein